This post may contain commission-earning affiliate links.
How to Make Butter From Heavy Cream: Homemade, It’s Just Better
I would dare to argue that butter is one of the world’s favorite spreads. Well, at least America’s… we use it for everything here – but for good reason! It adds so much depth and flavor to any dish you put it into – what’s not to love about it? The only thing greater than butter is homemade butter from heavy cream, it’s just… better.
Like peanut butter, I never knew how easy it was to make butter from heavy cream at home. You only need one ingredient – heavy cream, and a trusty mixer to help you separate your butter from the buttermilk that you’re going to get after about 15 minutes of mixing (oh yeah, I should mention this is a 2-for-1 recipe!). Keep reading to learn how to make butter at home – once you do once, you’ll never go back!

How To Make Butter From Heavy Cream: Flavor Customization
With a carton of heavy cream, you can do so much! When making your butter from heavy cream, decide if you want a more neutral butter or one with a sweeter flavor. If you want to opt for something sweeter to use in baked goods and other treats, go for a sweet heavy cream as opposed to a regular one. If you prefer a neutral butter, regular heavy cream will do perfectly.
Towards the end of the butter-making process when you’re shaping your final spread, you can also add additional flavor to your butter. If you want salted butter, fold it in during the shaping process. If you want your butter to have a garlic flare, opt for garlic salt, or take it a step further and add in some smooth roasted garlic cloves. Perhaps you’d like a cajun butter – in this case, fold in some Old Bay seasoning, salt, and other desired spices to give it more flavor.
The possibilities are endless! It’s easy to add your seasonings and flavors to your homemade butter towards the end of the process because your butter will be soft and simple to mold and fold.
Storing Your Homemade Butter
When it comes to storing your homemade butter, you have two options: you can keep it in the fridge, or put it in a butter keeper like this one. Your butter will stiffen in the fridge and be best for melting and putting into baked goods, adding to crusts, or melting in a pan. If you want your butter to be creamier and easy to spread, I recommend putting it into a butter keeper and keeping it on the counter. Your butter will not go bad because the butter dish is designed specifically to keep light and air out, so it’s a great way to ensure that you’ll have creamy butter all the time!
How Long Does Homemade Butter Last?
Your homemade butter will keep in the fridge for up to 3 weeks – if you’re making a big batch of butter, you can always store a few sticks in the freezer too! Homemade butter from heavy cream will keep in the freezer for roughly nine months.

How to Make Butter at Home
Making butter from heavy cream at home requires two things: a mixer and patience. Once you start making homemade butter, you’ll never want to stop! Here is how you make butter at home:
Add Your Heavy Cream to Your Mixer: Add heavy cream to your mixer and secure your mixing bowl in place. Use the whisk attachment.
Mix on High: Turn your mixer up as high as it will go – I like to gradually turn my mixer up in speed to keep it from splashing too much. You will leave your mixer on for roughly 15 minutes until your cream turns to whipped cream, and then eventually to butter.
Separate Your Butter and Buttermilk: Once your butter has separated from the buttermilk (you’ll see it in the bottom of the mixer and your butter will stick to the mixing whisk) strain your buttermilk into a separate jar or container using a fine mesh sieve to make sure there aren’t any leftover chunks of butter in the milk. Store in the fridge and use for other recipes like pancakes or buttermilk biscuits.
Clean Your Butter: Gather your butter into a ball and squeeze it to get the initial excess buttermilk out of it. I like to put the ball into a bowl of ice water after the initial squeeze just to firm it up before moving over to the sink and rinsing and squeezing the butter ball until the liquid runs clear (it’ll take 5-10 minutes).
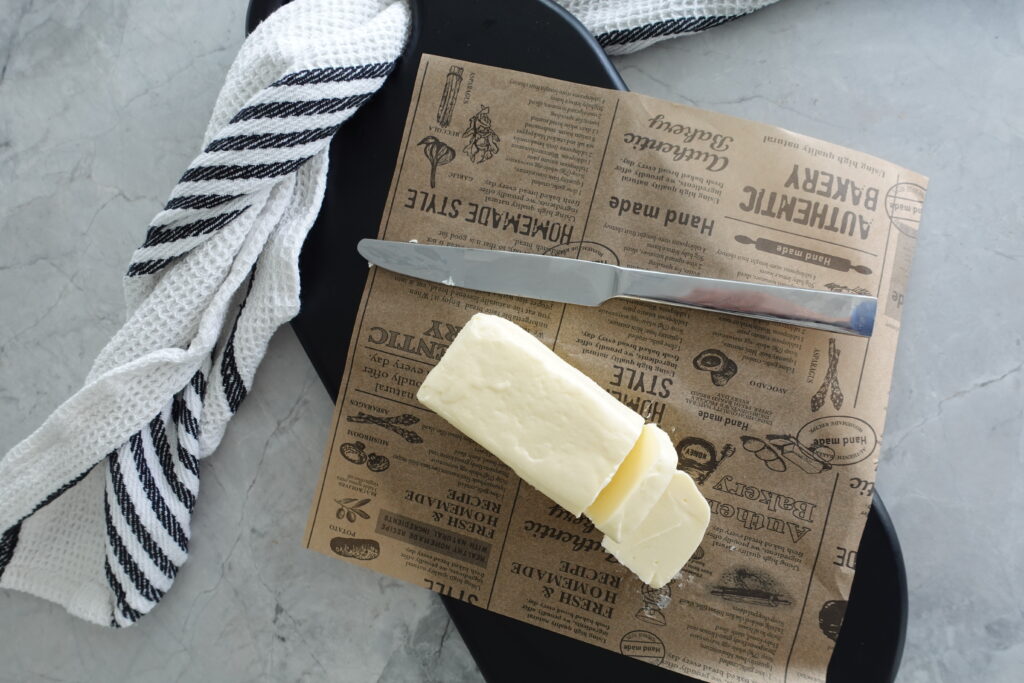
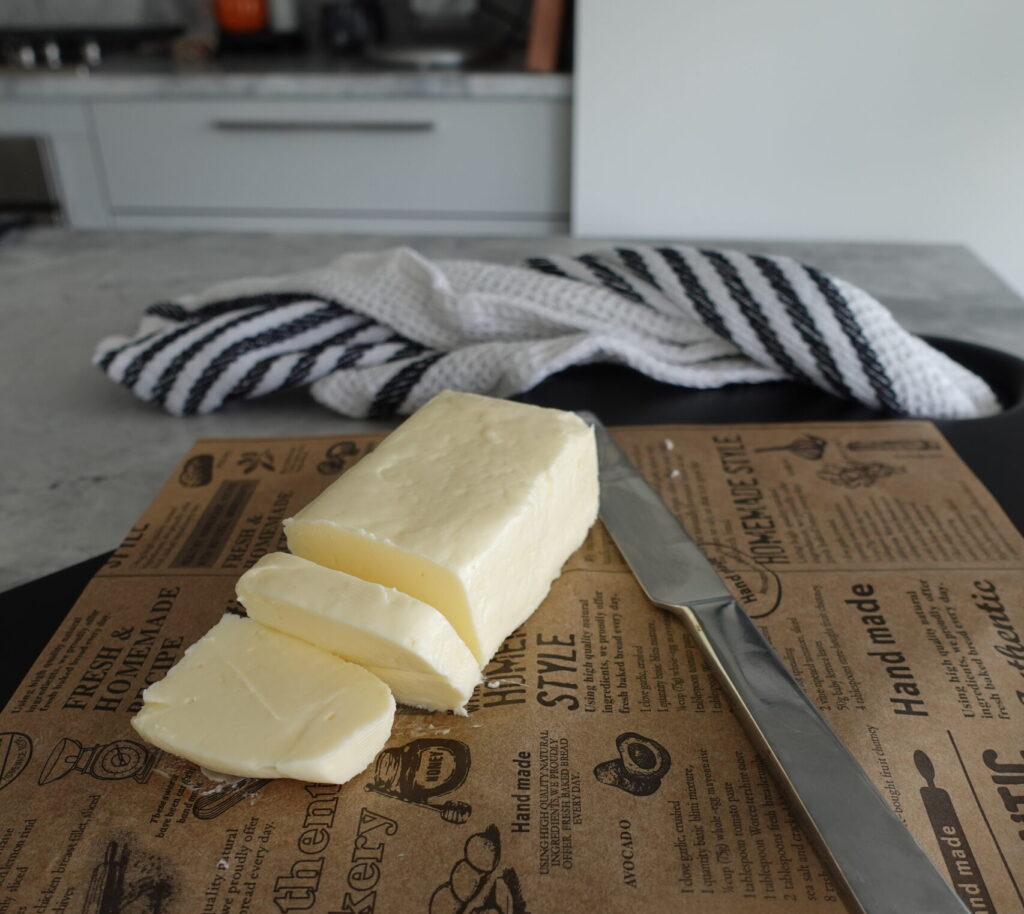
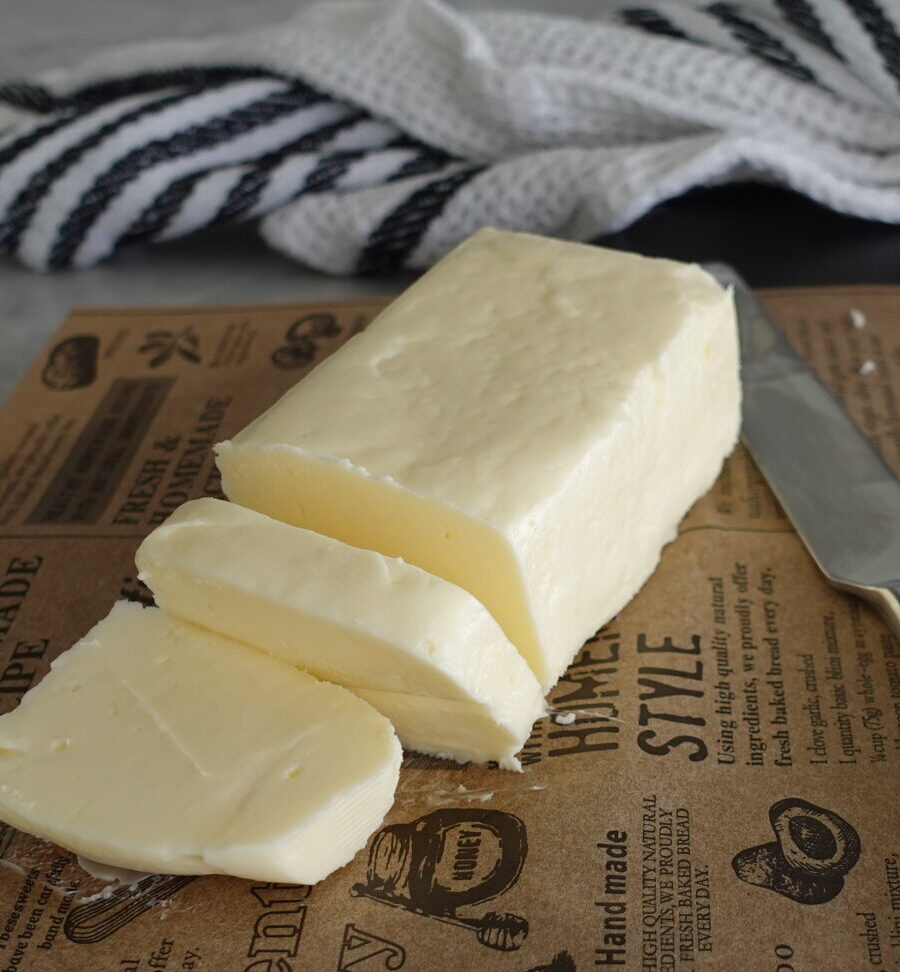
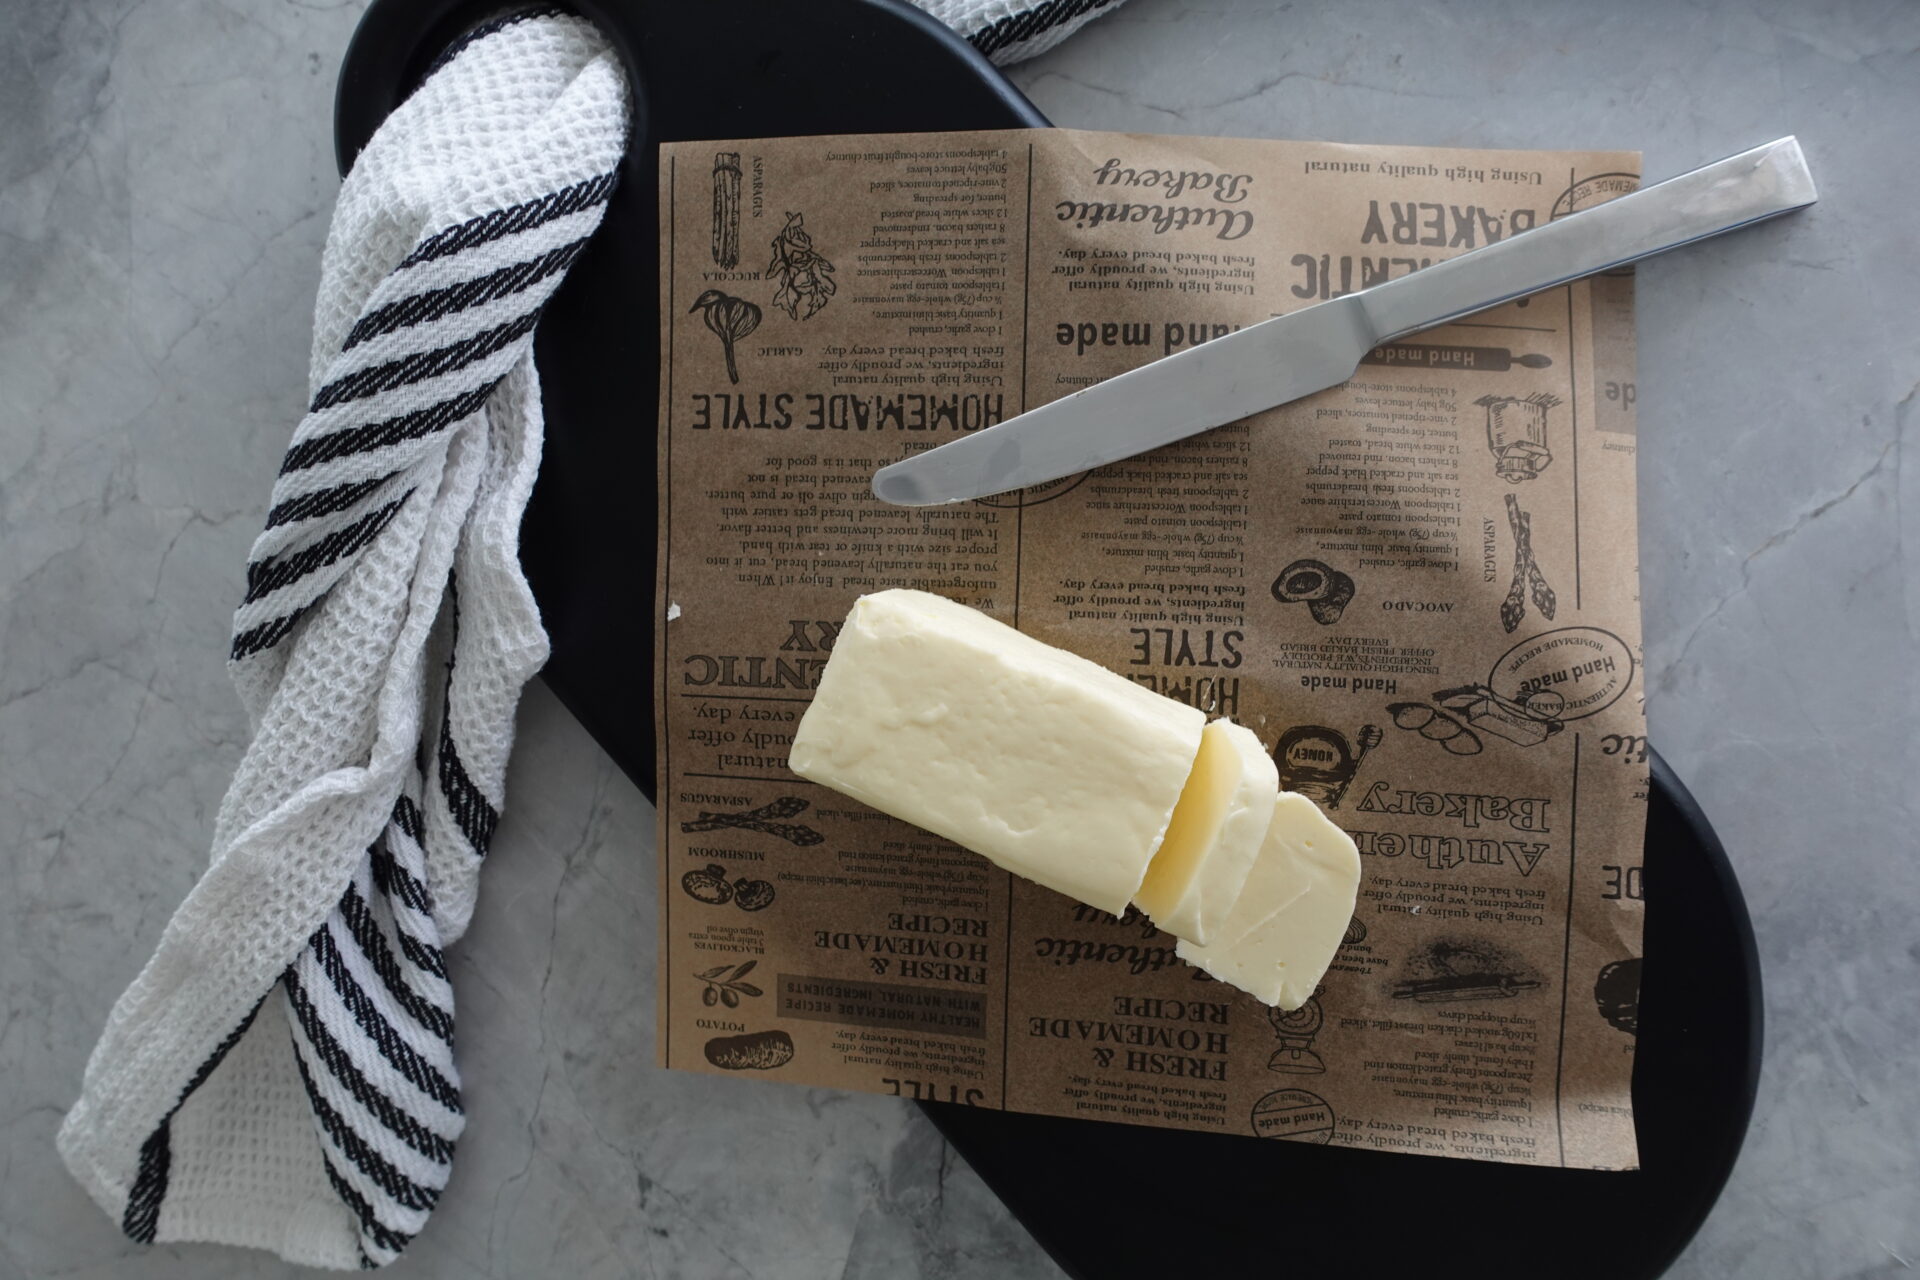
Add Salt (optional) and Shape Your Butter: If you want salted butter, fold it in once your butter is completely clean. Leave it as is if you prefer unsalted butter. Shape your butter into a stick using a piece of parchment paper, wrap it up, and place it in the fridge. If you want to store your butter in a butter keeper, skip the shaping step and add it directly into the butter keeper.
For details and visuals, check out the how-to video below. Enjoy your homemade butter from heavy cream!
Ingredients:
- Heavy Cream
- Salt (optional)
Full Recipe on How to Male Butter From Heavy Cream:
Print
How to Make Butter From Heavy Cream
- Total Time: 15 minutes
- Yield: 1 large stick of butter 1x
Description
You’re one ingredient away from making your own butter! Follow this simple recipe on how to make butter from heavy cream – it’s delicious!
Ingredients
- 2 c Heavy Cream
- Salt (optional)
Instructions
- Add Your Heavy Cream to Your Mixer: Add your heavy cream to your mixer and secure your mixing bowl in place. Use the whisk attachment.
- Mix on High: Turn your mixer up as high as it will go – I like to gradually turn my mixer up in speed to keep it from splashing too much. You will leave your mixer on for roughly 15 minutes until your cream turns to whipped cream, and then eventually to butter.
- Separate Your Butter and Buttermilk: Once Your butter has separated from the buttermilk (you’ll see it in the bottom of the mixer and your butter will stick to the mixing whisk) strain your buttermilk into a separate jar or container, using a fine mesh sieve to make sure there aren’t any leftover chunks of butter in the milk. Store in the fridge and use for other recipes like pancakes or buttermilk biscuits.
- Clean Your Butter: Gather your butter into a ball and squeeze it to get the initial excess buttermilk out of it. I like to put the ball into a bowl of ice water after doing this just to firm it up before moving over to the sink and rinsing and squeezing the butter ball until the liquid runs clear (it’ll take 5-10 minutes).
- Add Salt (optional) and Shape Your Butter: If you want salted butter, fold it in once your butter is completely clean. Leave it as is if you prefer unsalted butter. Shape your butter into a stick using a piece of parchment paper, wrap it up, and place it in the fridge. If you want to store your butter in a butter keeper, skip the shaping step and add it directly into the butter keeper.
- Cook Time: 15
- Category: spreads
For more recipes like this one, follow me on social media at @dinneratallis!


