Description
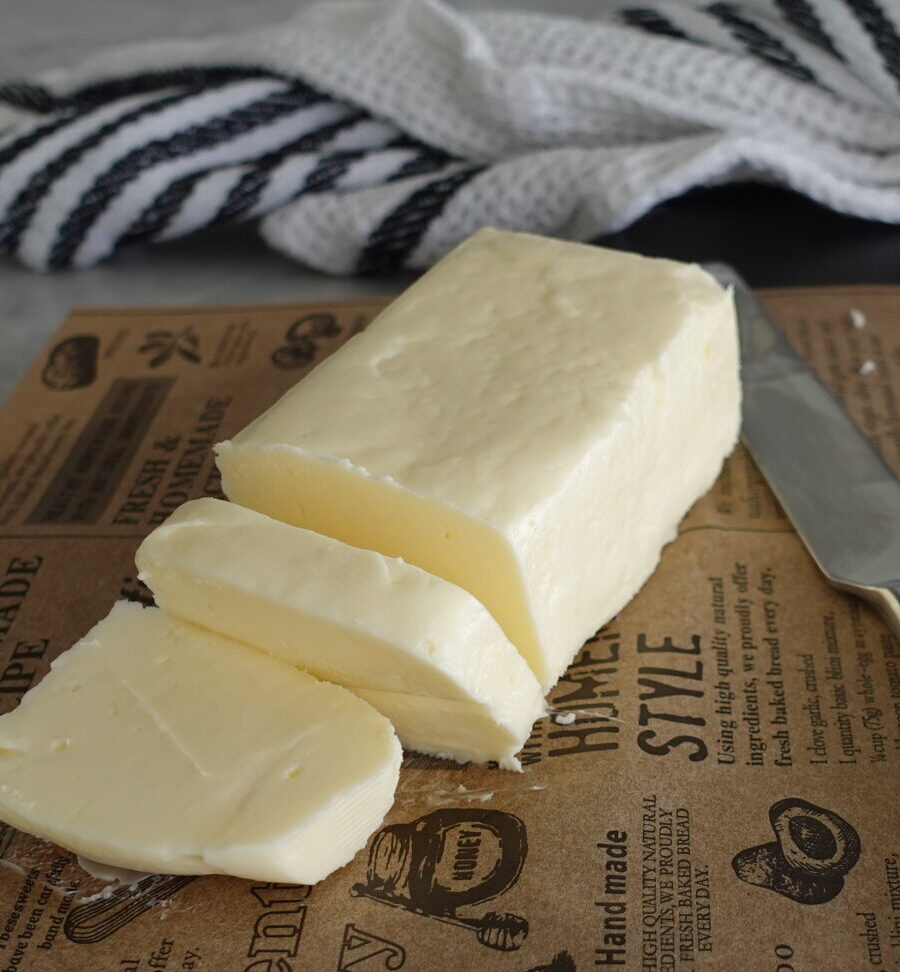
You’re one ingredient away from making your own butter! Follow this simple recipe on how to make butter from heavy cream – it’s delicious!
Ingredients
Units
Scale
- 2 c Heavy Cream
- Salt (optional)
Instructions
- Add Your Heavy Cream to Your Mixer: Add your heavy cream to your mixer and secure your mixing bowl in place. Use the whisk attachment.
- Mix on High: Turn your mixer up as high as it will go – I like to gradually turn my mixer up in speed to keep it from splashing too much. You will leave your mixer on for roughly 15 minutes until your cream turns to whipped cream, and then eventually to butter.
- Separate Your Butter and Buttermilk: Once Your butter has separated from the buttermilk (you’ll see it in the bottom of the mixer and your butter will stick to the mixing whisk) strain your buttermilk into a separate jar or container, using a fine mesh sieve to make sure there aren’t any leftover chunks of butter in the milk. Store in the fridge and use for other recipes like pancakes or buttermilk biscuits.
- Clean Your Butter: Gather your butter into a ball and squeeze it to get the initial excess buttermilk out of it. I like to put the ball into a bowl of ice water after doing this just to firm it up before moving over to the sink and rinsing and squeezing the butter ball until the liquid runs clear (it’ll take 5-10 minutes).
- Add Salt (optional) and Shape Your Butter: If you want salted butter, fold it in once your butter is completely clean. Leave it as is if you prefer unsalted butter. Shape your butter into a stick using a piece of parchment paper, wrap it up, and place it in the fridge. If you want to store your butter in a butter keeper, skip the shaping step and add it directly into the butter keeper.
- Cook Time: 15
- Category: spreads
